
Vinna beginner guide
Basic face painting strokes for beginners
You don't need a finished design to start practising. Try a line, a dot and a patch of colour first, then put them together in a look you like.
Set up a small practice space
Put out a brush, a sponge, your paint and a small amount of clean water if you are using a water-activated cake. Keep a cloth nearby and practise on paper or your arm before painting a face. For an oil-based or other formula, follow the directions supplied with that specific product instead of adding water by habit.
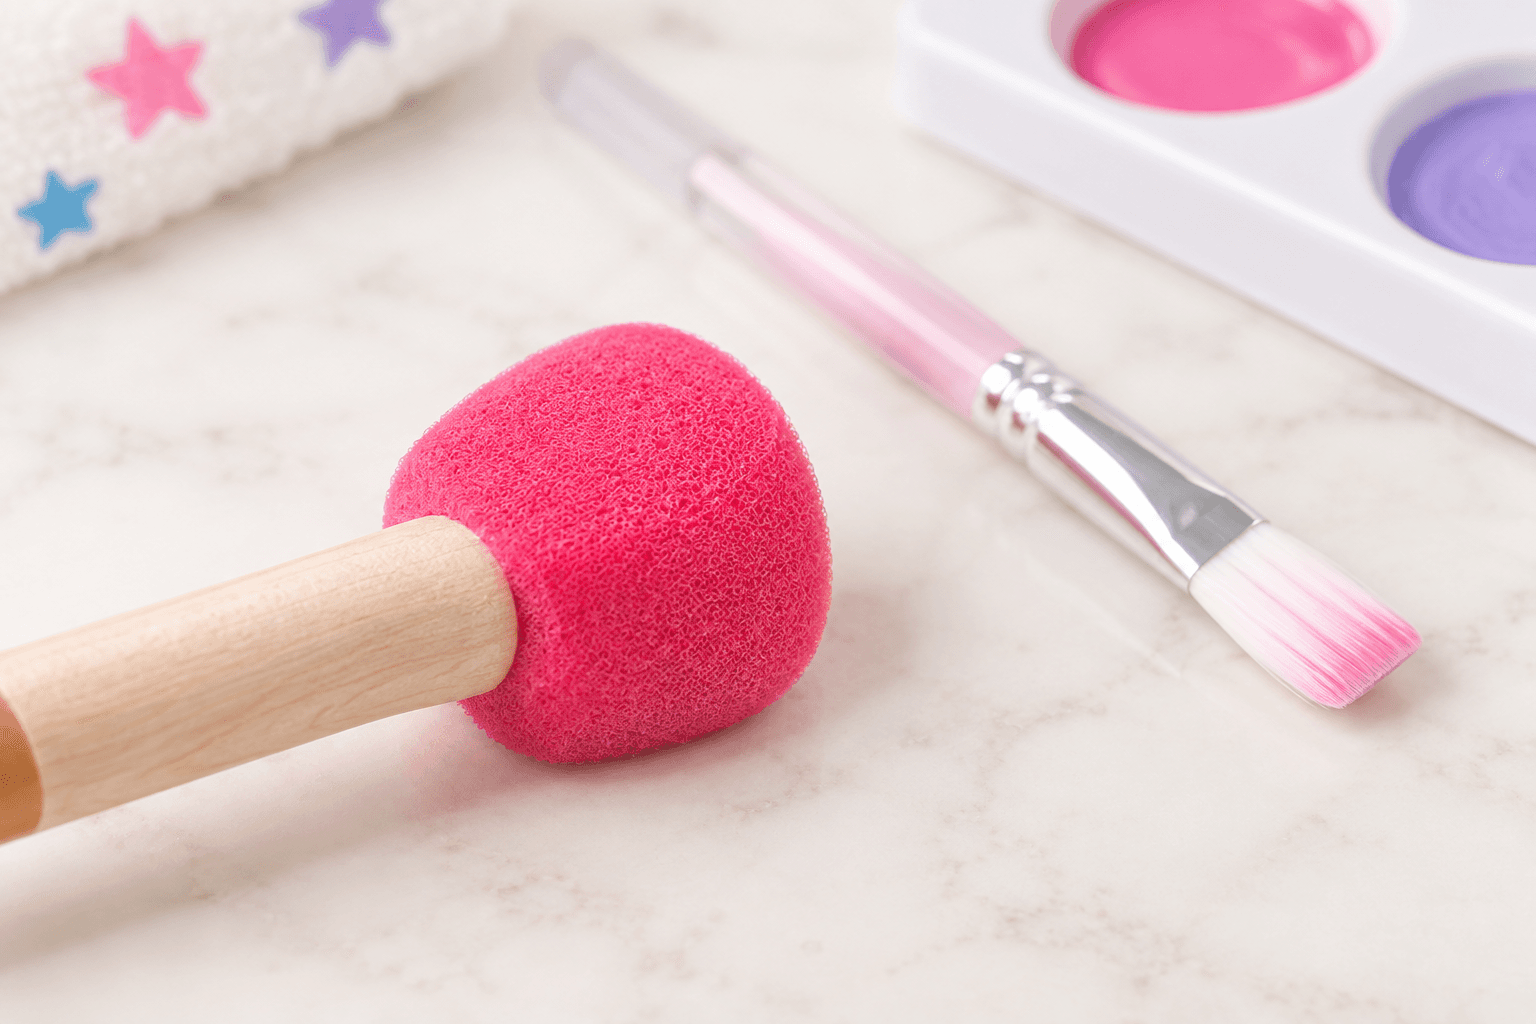
Three marks to practise
- A short line: Lightly dampen a brush for water-activated paint, pick up colour and draw one smooth stroke. Try changing pressure: a lighter touch makes a finer line.
- A dot: Hold the brush more upright, touch once and lift. Repeat a few dots with space between them before trying a cluster.
- A soft patch: Load a sponge with a small amount of colour and gently dab. Build the colour in light layers rather than pressing hard at the start.
If the line looks faint, load a little more colour. If it spreads more than you want, use less water next time. Practise each mark a few times so you can see the difference.
Turn those marks into a look
Try a simple rainbow or butterfly from Easy looks to try. Use the sponge for a base colour, a line for an outline, and dots for the finishing details. Start small: even one cheek design can feel complete.
For a visual demonstration, visit our face painting basics tutorials. The videos are credited to their original creators, so you can choose a technique to watch before trying it yourself.
What should you practise next?
Repeat the same three marks with a different brush or colour. Once you feel comfortable, compare Vinna’s beginner kit guide or browse the shop for the tools you want to use.